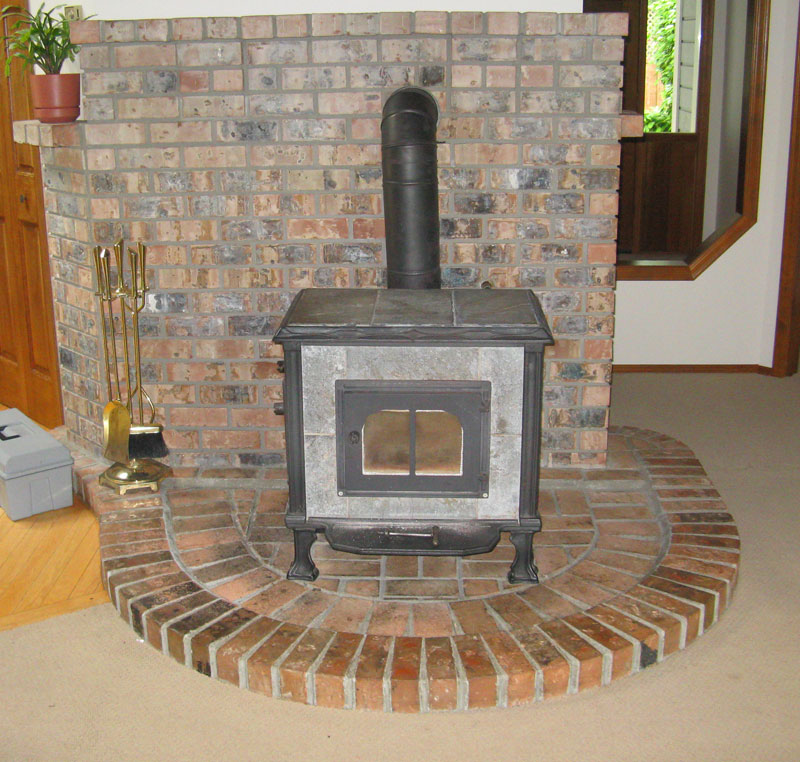
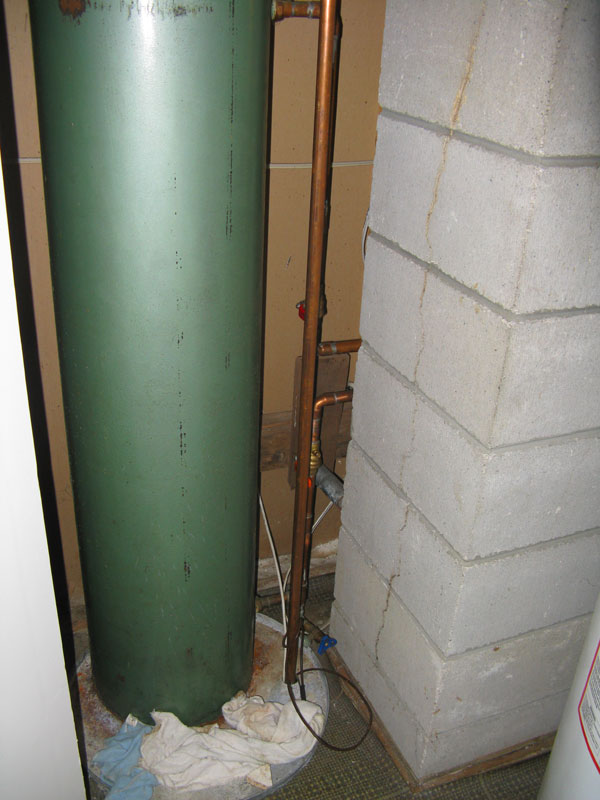
This house had a woodstove when we viewed it. This rancher has a large space in the middle of the house that is a coat closet and also holds the chimney and water heater. I think its a little weird to have the water heater on the main floor of a house but then I have never lived in a rancher before. And the crawl space downstairs doesn’t have a lot of useable space. Well it does if you want to get on your tummy and crawl up a five foot cement hill and then scurry along more cement until you get to the other end of the house… but I digress.
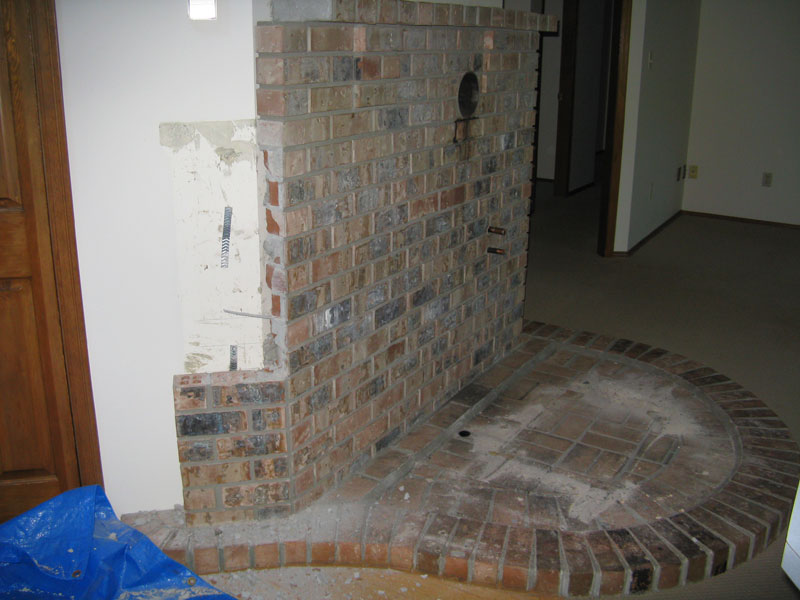
See that weird cutout in the wall to the right? Very bad feng shui and will be the subject of another post.
So this woodstove did not pass the house inspection. There are different codes in place since it was installed, such as minimum amount of space between the stove and the edge of the hearth must now be 18″. This round hearth measured about 15″. And the stove had been modified several times over the years.
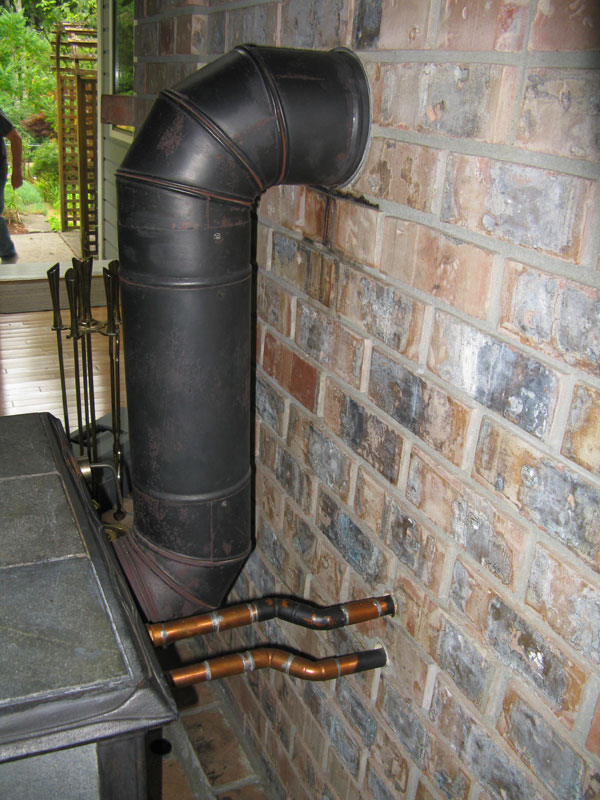
These are copper water lines that went to a water tank in the closet that supplied extra hot water. Water (or lack of it) is a big deal on this property. So the previous owners were trying to save money by preheating water before it went into the (electric) water heater. Over the years, both the interior of the woodstove and the chimney cracked. We were told by the house inspector that the chimney cracks were not a big deal. Really? When the woodstove inspector came out to do a Wett inspection on the woodstove he had a very different opinion.
At first we weren’t too upset that the woodstove had to come out because it was in a really awkward spot in the family room and we had talked about putting a propane fireplace in anyway. But the woodstove inspector started telling us that the whole chimney would have to be rebuilt and an estimate for that was in the $6-$8,000 range. We were a bit floored to say the least. When our plumber/licensed gas fitter came to give us an estimate, he assured us that the chimney would be useable for an insert. We decided to go ahead and have the propane lines installed for a new fireplace, the barbecue and a line for a future gas stove.
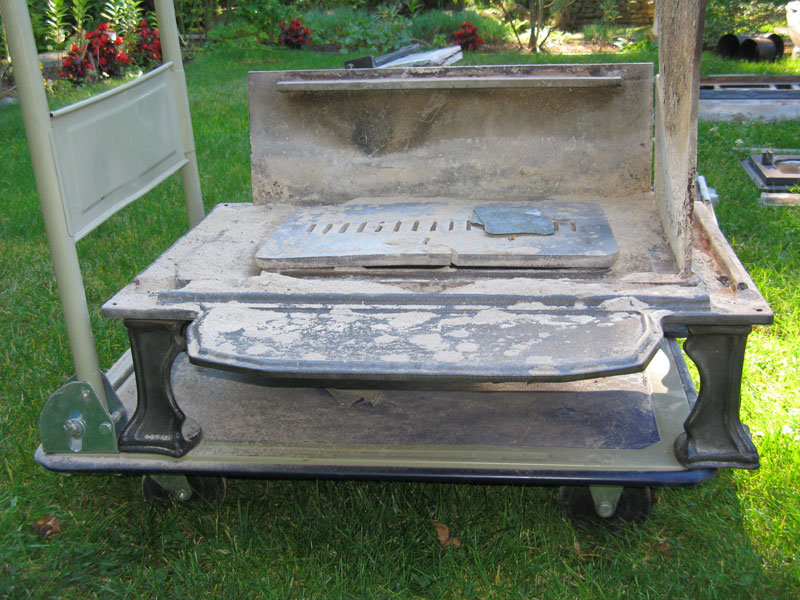
So Mr. Wilson proceeded to dismantle the stove and take out all the bricks. The more he took the stove apart, the worse it looked. Cracked stones, rusty parts and lots of creosote. What a mess.
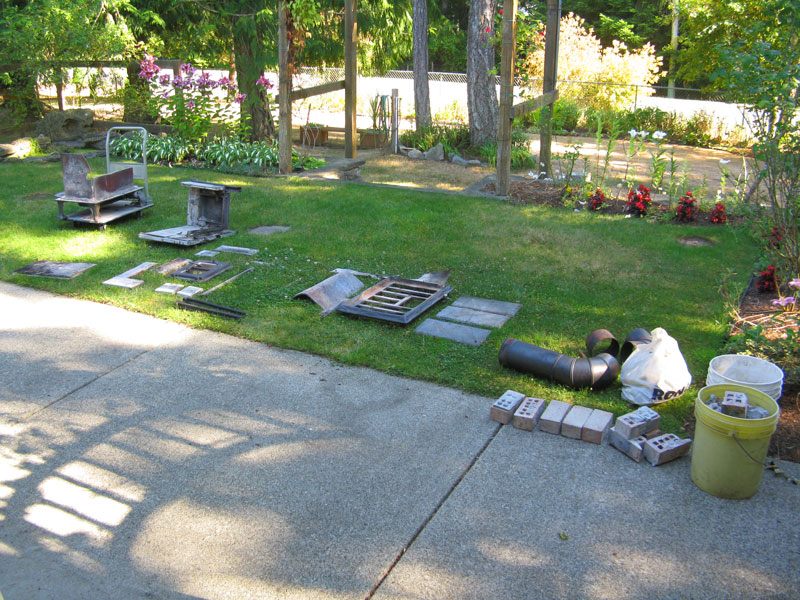
Notice how neat he is? It didn’t want this stuff on the lawn for too long so I moved everything onto the patio. We still have rust stains on the concrete 6 months later.
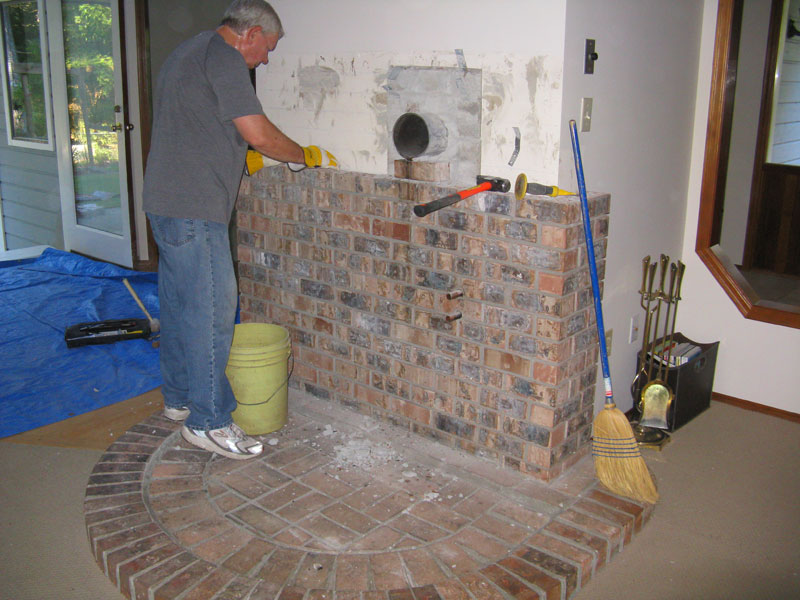
It took hours and hours over 2-3 weeks to chip away at the bricks. This is probably the only picture in existence showing Mr. Wilson doing manual labour and actually sweating! It was also very warm out but we knew we had about a 6-week window to get this done before the seasons changed. And we ended up with a great pile of bricks that will be reused as an outdoor fireplace (I hope).

This photo shows the 18′ foot ceiling height in this room, the skylights in the kitchen and the awesome 80’s lighting that is in this house. The room through the cutout is the living room and we are calling this room the family room or the dining room. It seems to be where everyone congregates when we have company. So it really is the heart of the home.
We hauled several loads of cast iron scraps, buckets of broken bricks, cement and grid wiring pieces to the dump. Our installer managed to find us a Napoleon fireplace that was only 13 inches deep because we wanted a very shallow profile to enable good flow through the room.
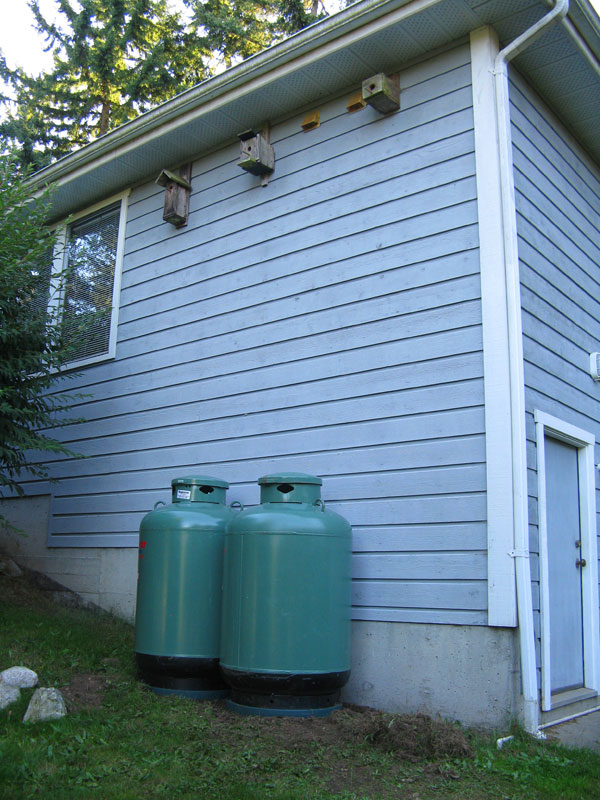
We had Superior Propane deliver and setup two tanks on the east side of the house by the crawl space.
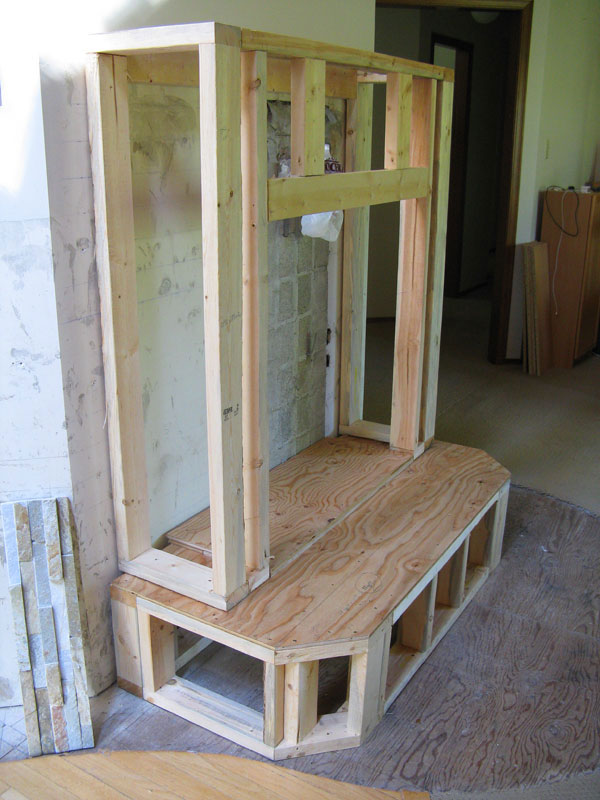
Our contractor, Redwood Construction had renovated our last home’s fireplace and installed new kitchen backsplash. So I called them to see if they could work on this project and Dustin fit us in. Once they knew the dimensions for the new fireplace they came up with a design for the space and framed it in. You can see the funky round cutout to the subfloor that we have to deal with as a result of removing the hearth. We are waiting until we can afford hardwood floors before we rip out all the carpets in this house. Might be awhile.
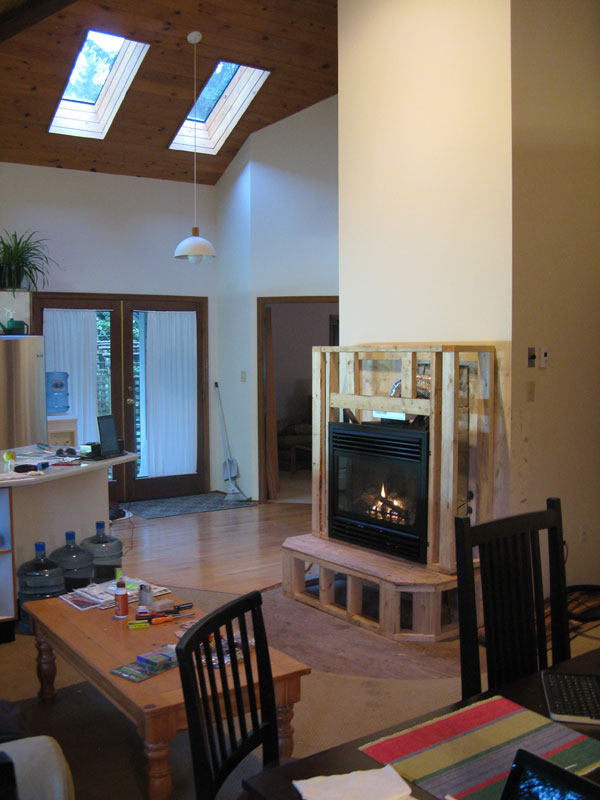
See those spots on the rug? When Chris came to install the fireplace, I helped him run the lines down the chimney. Wow, what a messy job! That chimney had not been cleaned in years and as Chris pushed the lines down from the roof, I pulled them down the flue with a rope so they could be connected to the fireplace. There were ashes on every surface including in the rug. Of course, we had to test the fireplace once it was hooked up!
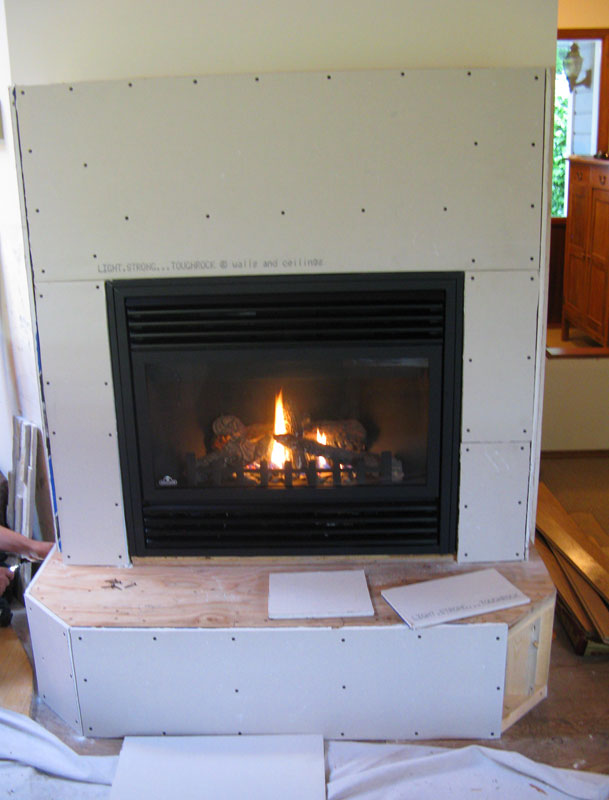
Drywall! Yay! The corners are angled because we had to make sure that the walkway from the kitchen into the dining room wasn’t too tight. Someday we will be gutting the kitchen and putting a new island in at a different angle and replacing all the flooring so we didn’t want any hard corners on the fireplace.
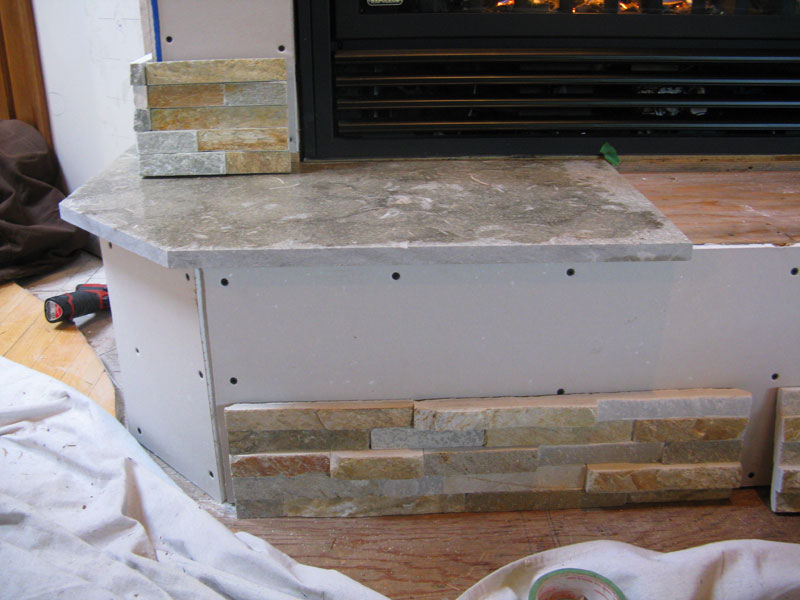
This stone tile is from Realstone Systems. We used this same stone panel on our last fireplace. Once the framing was done we figured out how much tile we would need and I ordered it from Slegg Lumber. Dustin picked the boxes up from Slegg and it sat in the garage until the drywall was done. When we started talking about how the corners would work, one of the guys went and got a piece from the stack. When he brought it into the room I was shocked to see that the wrong tile has been delivered. So we had the send it back and get another order which set us back a few days. The limestone on the hearth is called Limestone Green Envy from City Tile. It has a beautiful greeny gray hue to it when it is sealed that contrasts well with the stone.
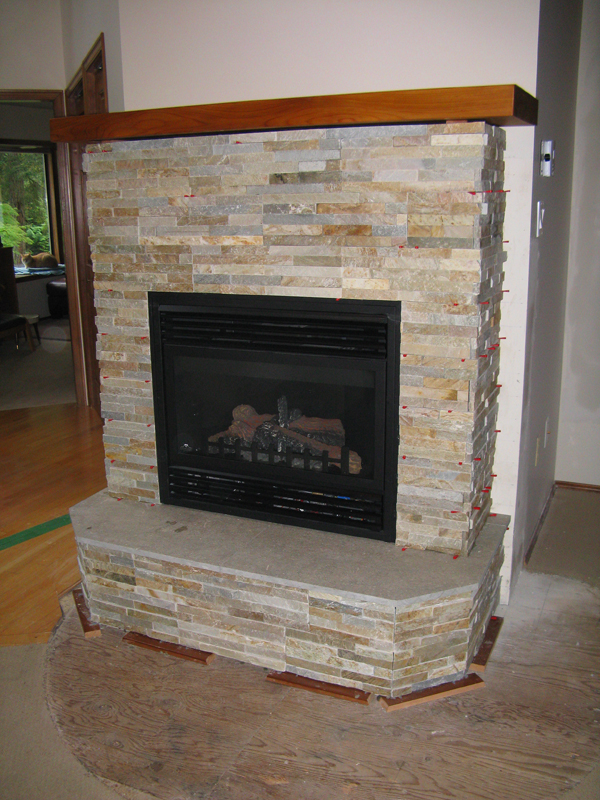
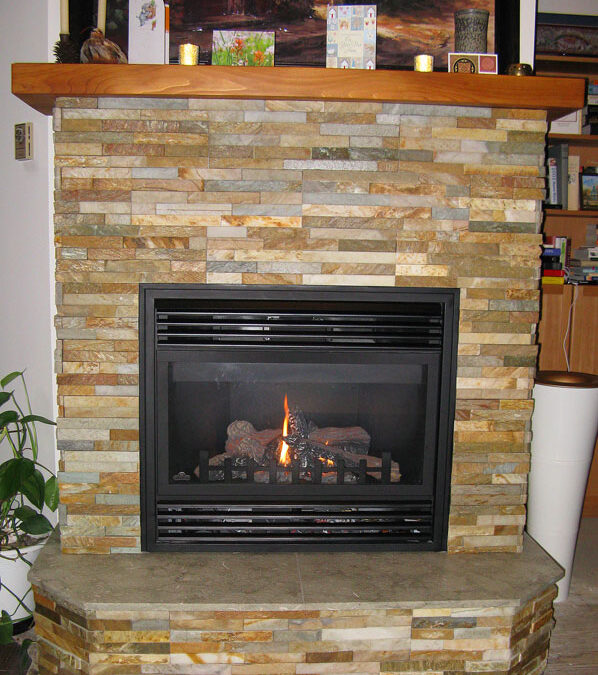
We went to Gorgeous Boards in Nanaimo to pick out a big chunk of cedar for the mantel. Jim Starr, the owner, is an old friend of Keith’s so we were given a great tour through all the stacks of wood and I was able to pick out the piece that we wanted to use. We knew we needed something substantial to get the massing right. This mantel is about six feet high which works with the ceiling height. You can see here that the spacers are still in and the stone is unsealed.
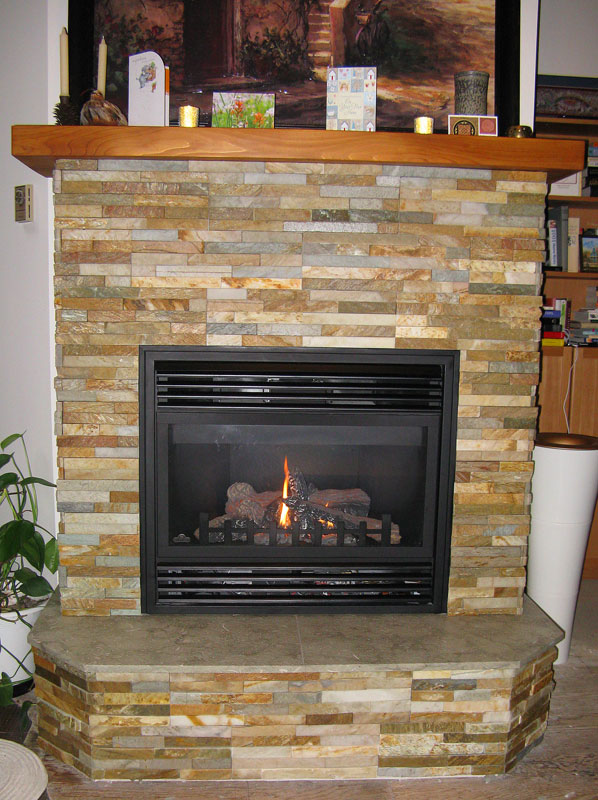
And there you have it. We didn’t seal the stone in our last house and I am sorry that we didn’t. Once I had sealed this stone I was thrilled with the depth of colour that came through. I am very grateful that we have a nice warm fireplace to gather around that also heats the house very well. And even though we have four different kinds of flooring in this room right now, I have to ignore it and just be happy we got our first project done in time for winter.